


LED Lighting for New Construction: Plan It All Before the Walls Close




LED LIGHTING FOR NEW CONSTRUCTION: PLAN IT ALL BEFORE THE WALLS CLOSE
LED lighting for new construction is decided before the drywall goes up. Once the walls are closed, moving a recessed light, adding a box behind a mirror or cutting a groove for a profile costs time and money. Planning the lighting room by room during framing lets you install what you need, in the right place, the first time. LEDCO supplies the products, 3 and 4-inch recessed lights, recessed profiles, 24 V strips and LED mirrors, and advises homeowners, electricians and contractors; the installation itself is done by your electrician.
What gets decided at framing, and never again after
Six lighting decisions are made while the walls are open; putting them off means agreeing to reopen:
- The recessed lights: model, size and location in each room, trimless ones included.
- The profile grooves: width and length of each line of light.
- The power supplies: an accessible spot for each one, never inside a closed wall.
- The box behind the mirror: height and position according to the chosen model.
- The façade wiring: soffits, steps and railings, before the siding.
- Dimmable or not: the answer changes the power supply and the dimmer.
DLX, DLF and DLS LED recessed lights: the ceiling of every room
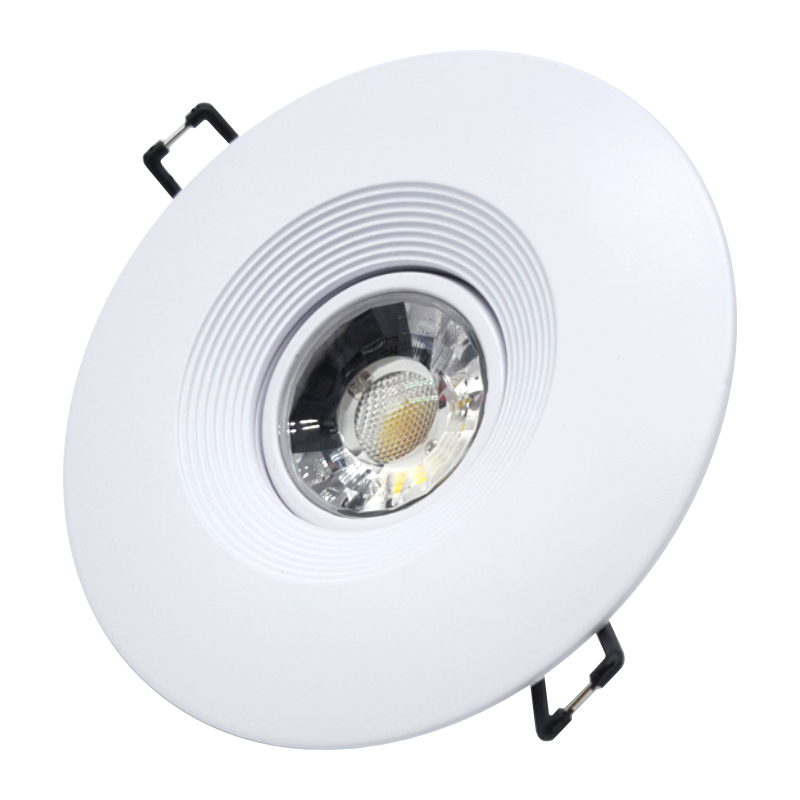
For residential work, LED recessed lights are mostly chosen in 3 and 4 inches. The 3-inch model offered is the DLX, round or square; in 4 inches, you will find the DLF (flat), DLS, DLS-HP, DLX and DLG families. Several models are CCT: the colour temperature is set on the fixture, so you can keep a single model for the whole house, warm white in the living room and more neutral in the kitchen.
The DLF 4" round slim gives flat, uniform light; the DLX and DLS give more defined beams. For a soffit or a damp location, some models are damp-rated: the spec sheet says so. In a shower, have the model confirmed by an advisor; never a recessed light in a sauna or steam room.
DLT 4" trimless LED recessed light and its mounting frames
The DLT 4" trimless LED recessed light, round or square, blends into the ceiling: only the light remains visible. This type of finish is planned before taping and mudding, not after. LEDCO also offers mounting frames: confirm with an advisor the method and the frame that suit, so your electrician installs them at the right stage of the job.
Recessed aluminum profiles and LED strips: plan the groove now
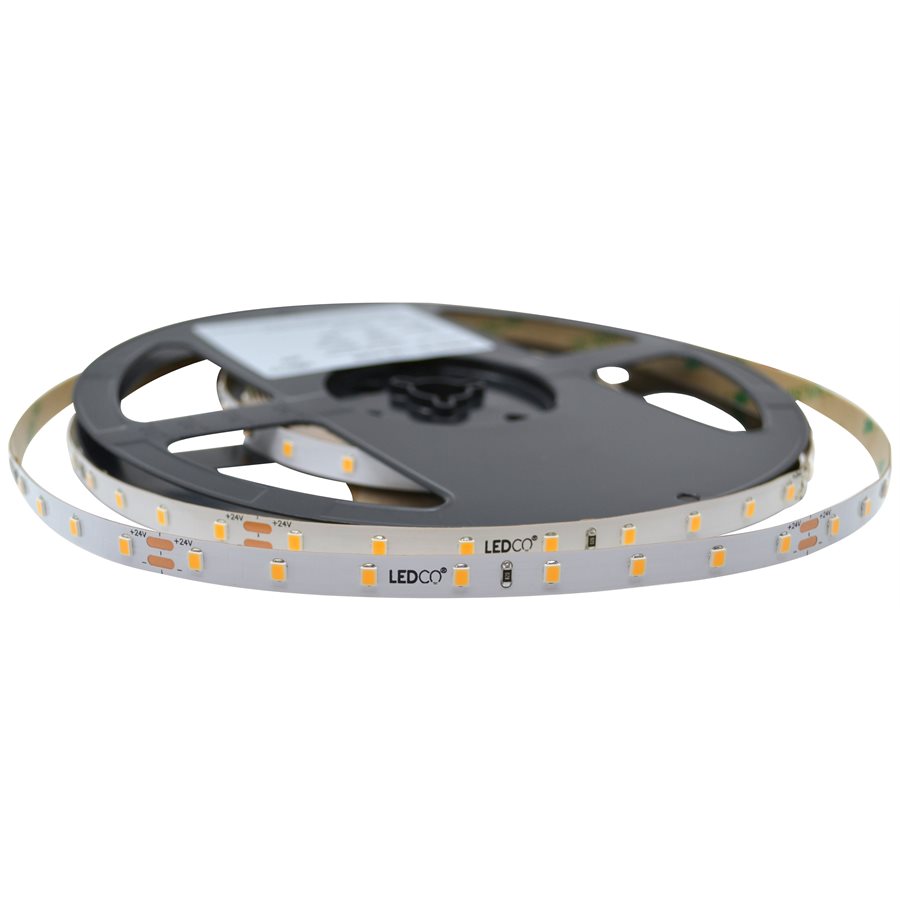
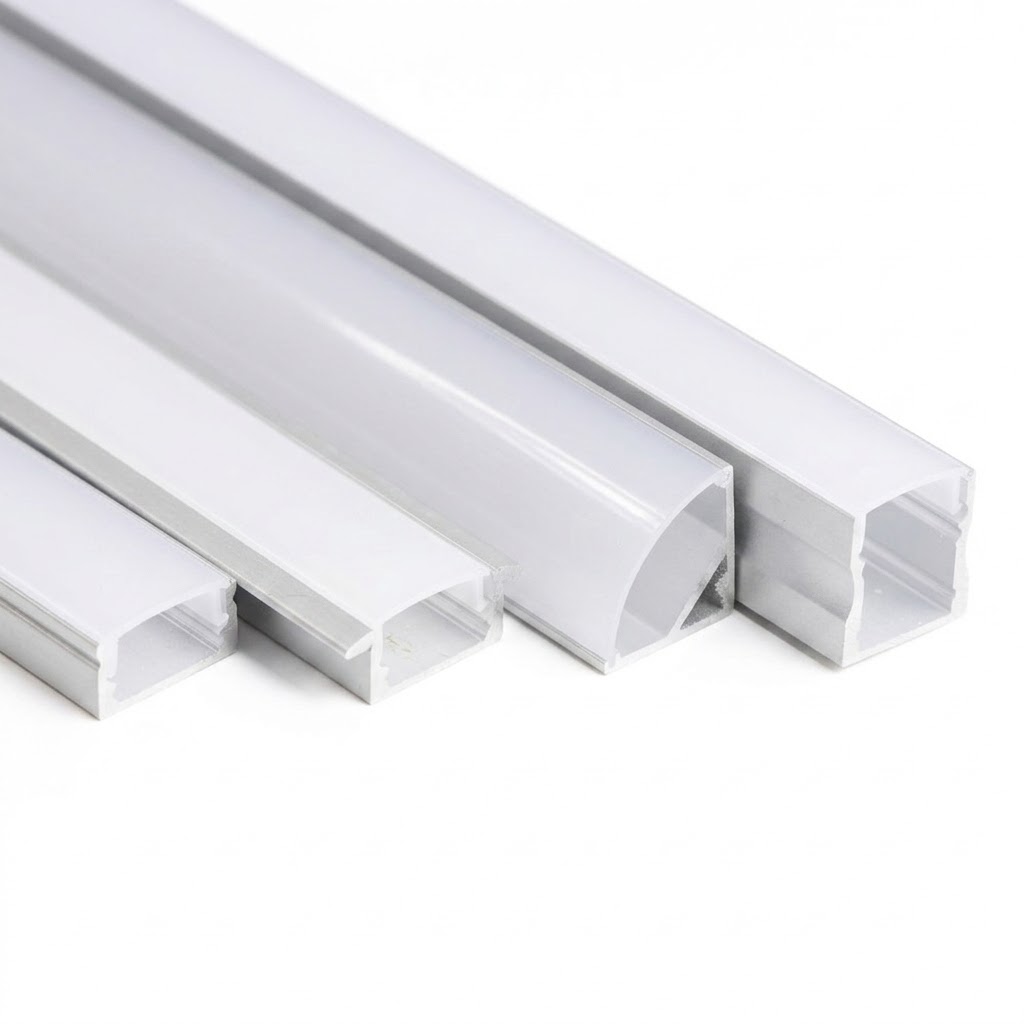
An LED strip in a recessed aluminum profile creates a clean line of light in a ceiling, a bulkhead or a staircase. The recessed profile is chosen according to the desired width and the available space (the #86, with its flanges, is the most common; the #85 and #81 are also offered): the width determines the groove to plan before finishing. The profile protects the strip, dissipates its heat and erases the light dots. With the custom LED designer, the LED strip is cut to the inch, soldered and sealed, with or without a profile, and the power supply is calculated: no cutting or soldering on site, and each length matches the groove shown on your plans.
12V and 24V LED power supplies: an accessible spot for each one
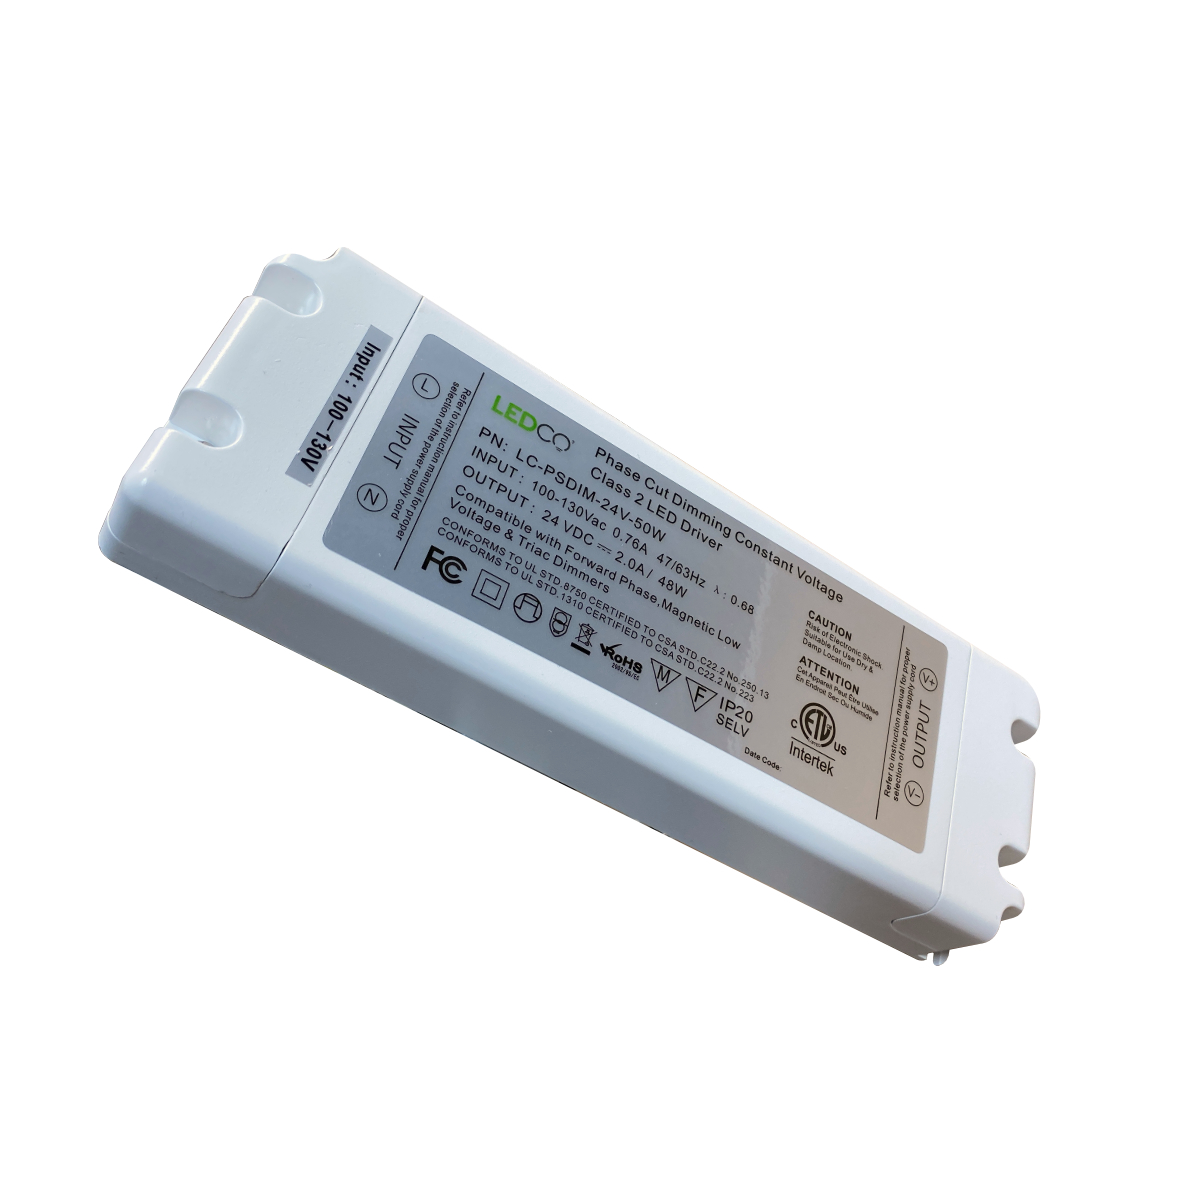
The vast majority of LEDCO LED strips are 24 V: they always need a power supply, chosen with at least 20% headroom over the load. Plan an accessible spot now, a closet or an access hatch, rather than a closed wall. Dimmable or non-dimmable: the answer changes the power supply model, so it has to be decided before ordering. Power supply junction boxes help keep the connection tidy and easy to reach.
LED bathroom mirrors: the electrical box behind the mirror
In the bathroom, an LED mirror connects to the circuit and turns on from the wall switch; depending on the model, it dims with a standard wall dimmer (MLV or TRIAC), which the spec sheet states. You therefore need an electrical box behind the mirror, at the right height, before the drywall goes up. Medicine cabinet such as the Galaxy Cabinet LED mirror or the Harmony Cabinet, or another model from our LED bathroom mirrors: make your choice before closing the wall, to know its dimensions and where the connection goes.
Outdoor LED strips: soffits, decks and stairs
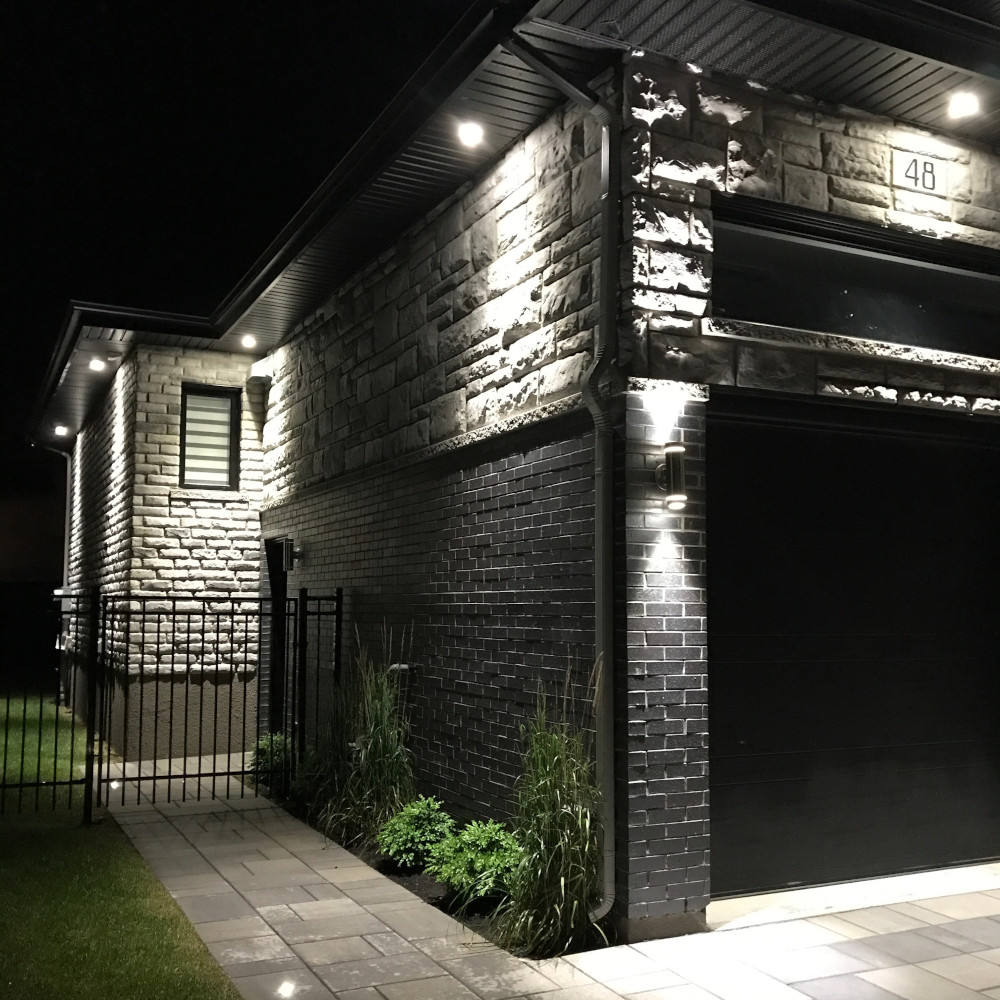
Outdoors, IP66 waterproof LED strips and fixtures rated for outdoor use are planned along with the façade wiring. A soffit, a deck step or a railing is far easier to wire before the siding is installed. For the interior once the house is lived in, our residential LED lighting page goes through each room.
Technical tips for LED lighting for new construction
One lighting plan per room, before the electrician. Every recessed light, strip line and power supply has its place on the plan; the electrician pulls the wires once.
Choose trimless recessed lights before the drywall. The DLT and its frames go in before taping and mudding.
An accessible power supply, always. Closet, hatch or junction box, never a closed wall.
Settle dimmable or not from the start. The answer changes the power supply and the dimmer, and it is decided before ordering.
Let the shop cut and solder. The designer delivers the exact lengths of your grooves, ready to install.
Contractors and electricians: a professional account gives you access to our trade terms; our page on electrical certification in Quebec explains what a permanently connected fixture must meet. For inspiration, see our accomplishments, including a private residential home. For a complete project, send us your plans: contact LEDCO before the drywall goes up, not after.

LED lighting for new construction FAQ
At what stage of the build should the lighting be chosen?
During framing, before the electrician and well before the drywall. That is when the location of the recessed lights, the width of the grooves, the position of the power supplies and the box behind the mirror are set. Afterwards, every change means reopening.
3-inch or 4-inch recessed lights?
Both are used in residential work. The 3-inch is the DLX, round or square, more discreet; the 4-inch offers more families and more beam choices.
Where should the power supply of an LED strip go?
In an accessible, ventilated spot, a closet or a hatch, never inside a closed wall. It is chosen at the strip's voltage, almost always 24 V, with at least 20% headroom, and dimmable if a wall dimmer is planned.
What do I need to plan for an LED bathroom mirror?
An electrical box behind the mirror, at the height of the chosen model, connected to the wall switch. The model therefore has to be settled before closing the wall, to know its dimensions and where its connection goes.
Can I have a plan for LED lighting for new construction checked before ordering?
Yes. Send your plans to our team: we go through each room, recessed lights, grooves, power supplies and mirrors, and send you back a consistent list.