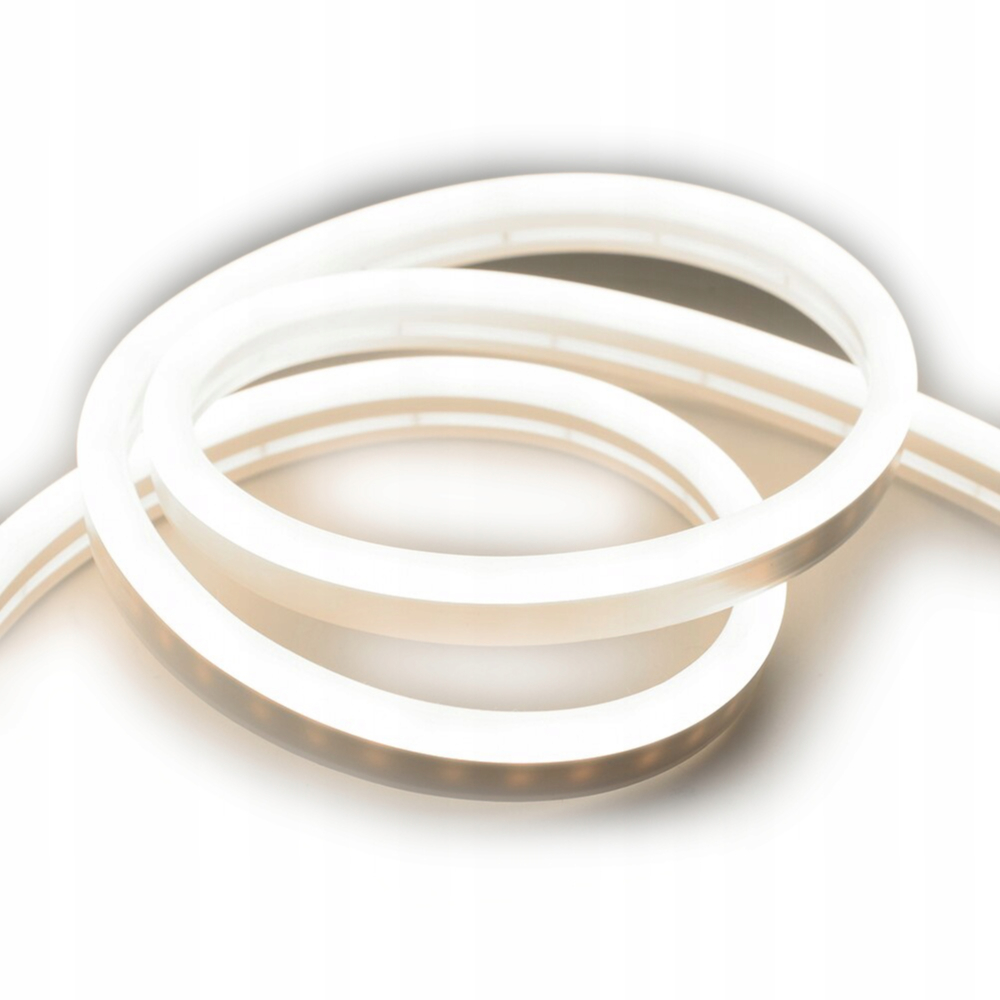



LED Strip Kit — complete system



LED STRIP KIT — COMPLETE SYSTEM
A successful LED strip light kit is not just a strip: it is a system in which every part matters. For uniform, long-lasting light, you need the right strip, profile, power supply, dimmer and connectors, chosen together. A 24 V strip on a 12 V supply or a wall dimmer on a non-dimmable power supply is enough to make a project fail. LEDCO brings together here, step by step, every part of the system, with no soldering and with 20% headroom on the power supply.
The complete LED strip light kit, part by part
Here is the list in the order it gets decided; each choice sets the next:
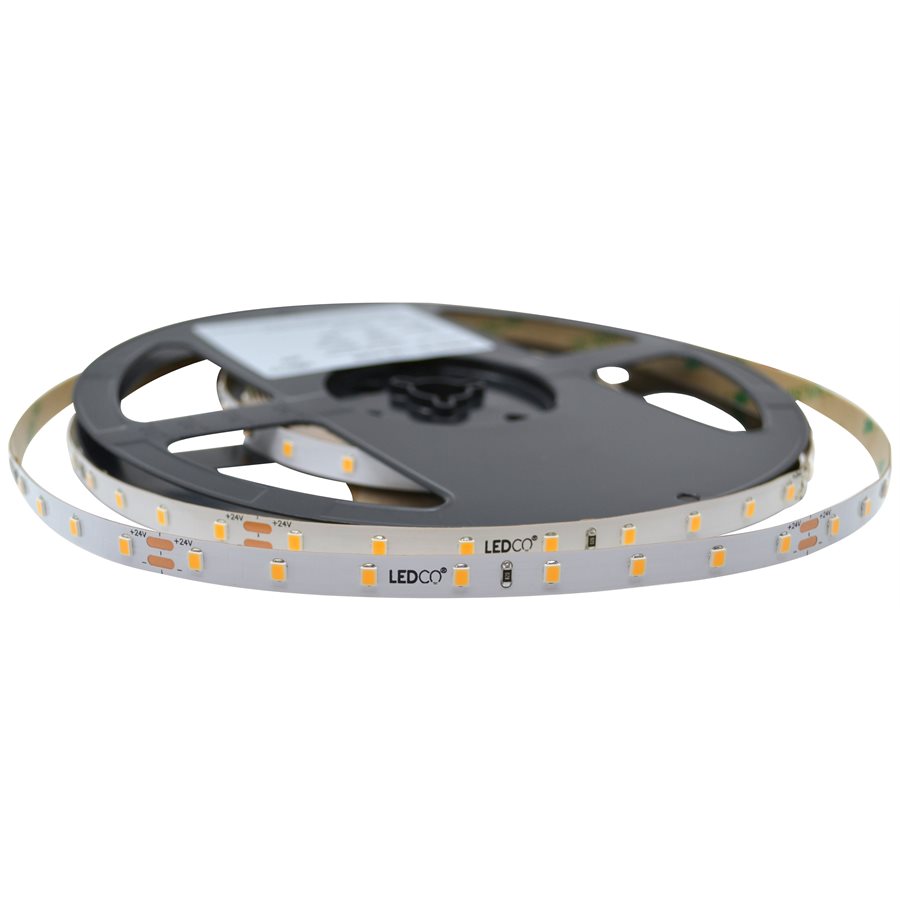
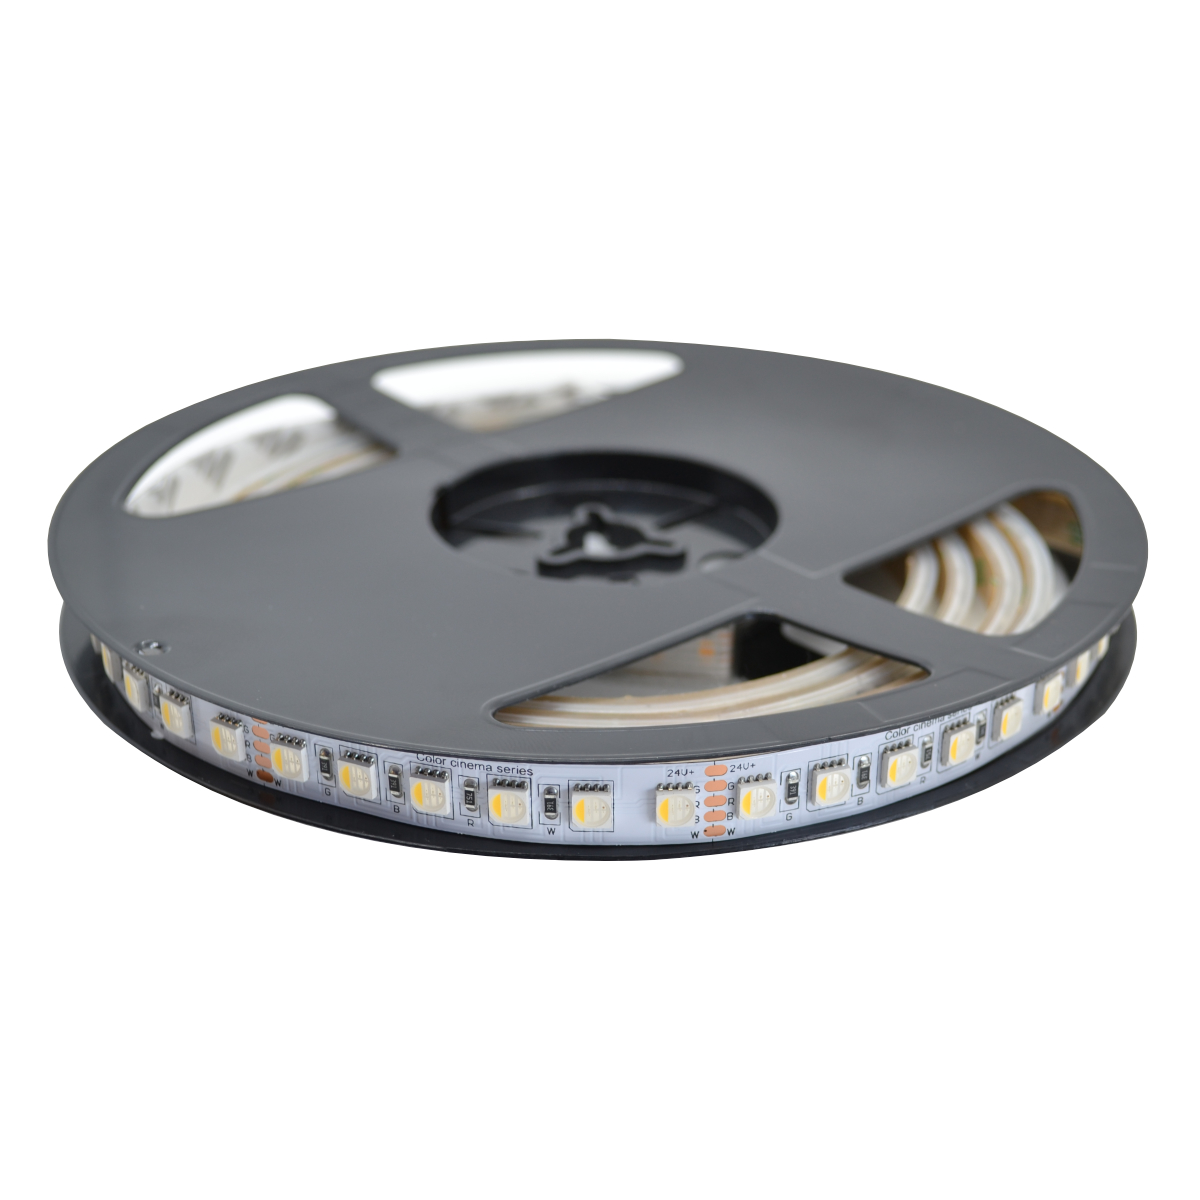
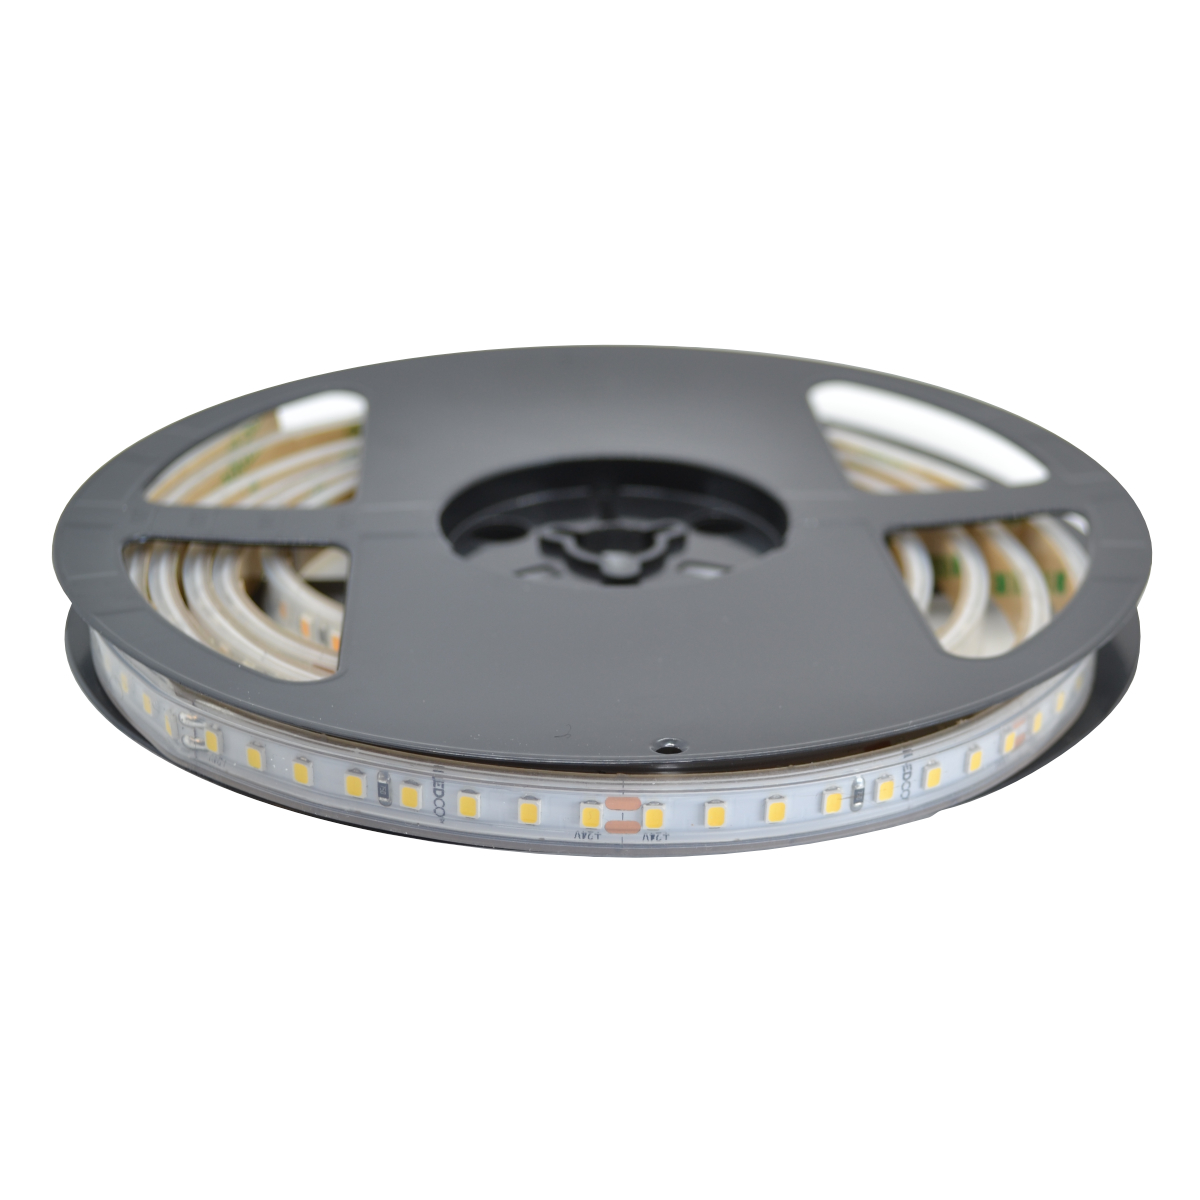
- The strip: indoor or outdoor, white, CCT, COB, RGB or RGBW, in 12 V or 24 V.
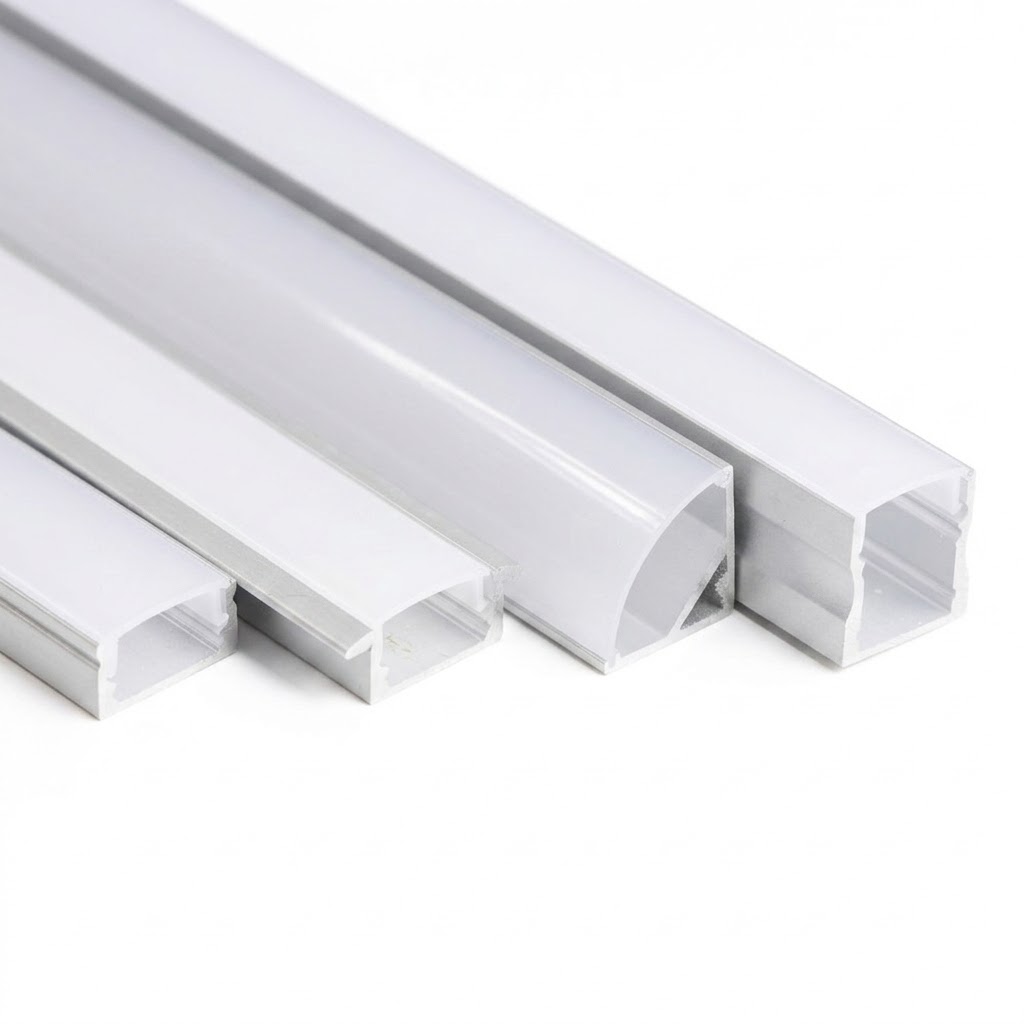
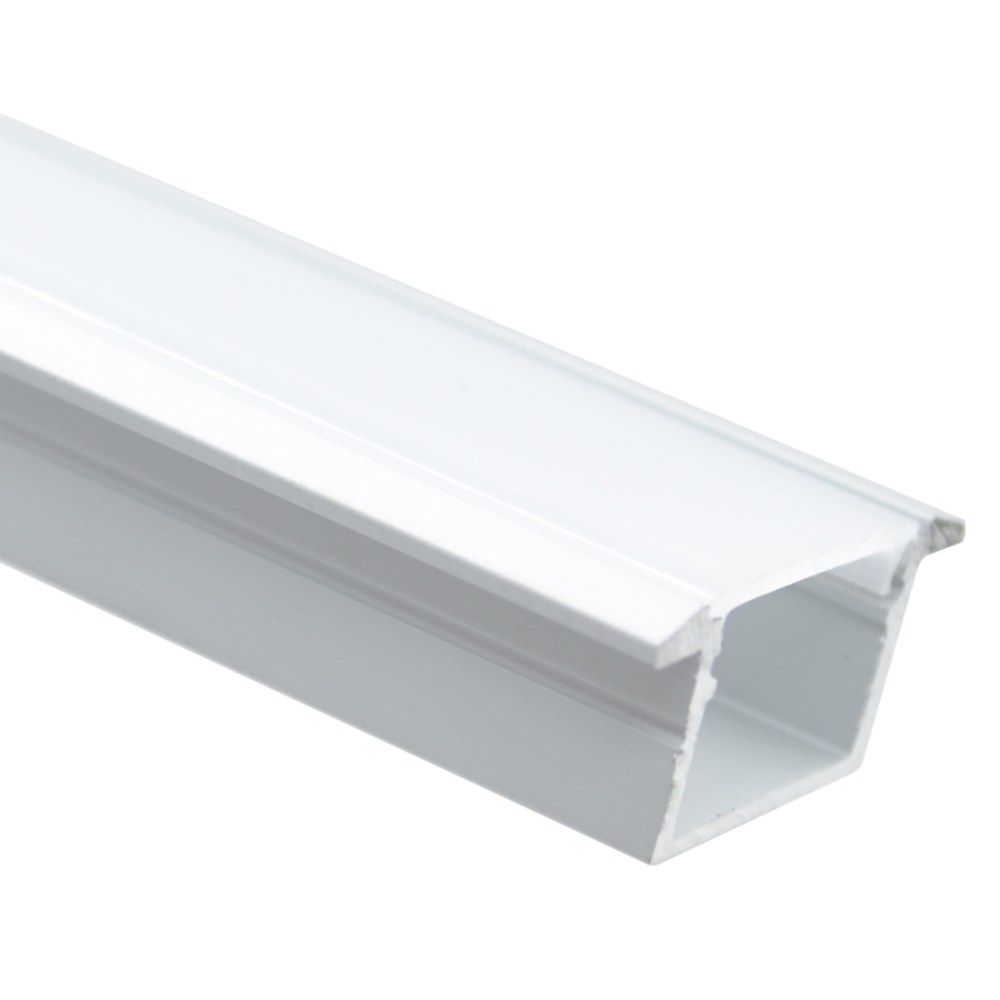
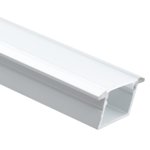
- The aluminum profile: surface, recessed or suspended, wide enough for the strip.
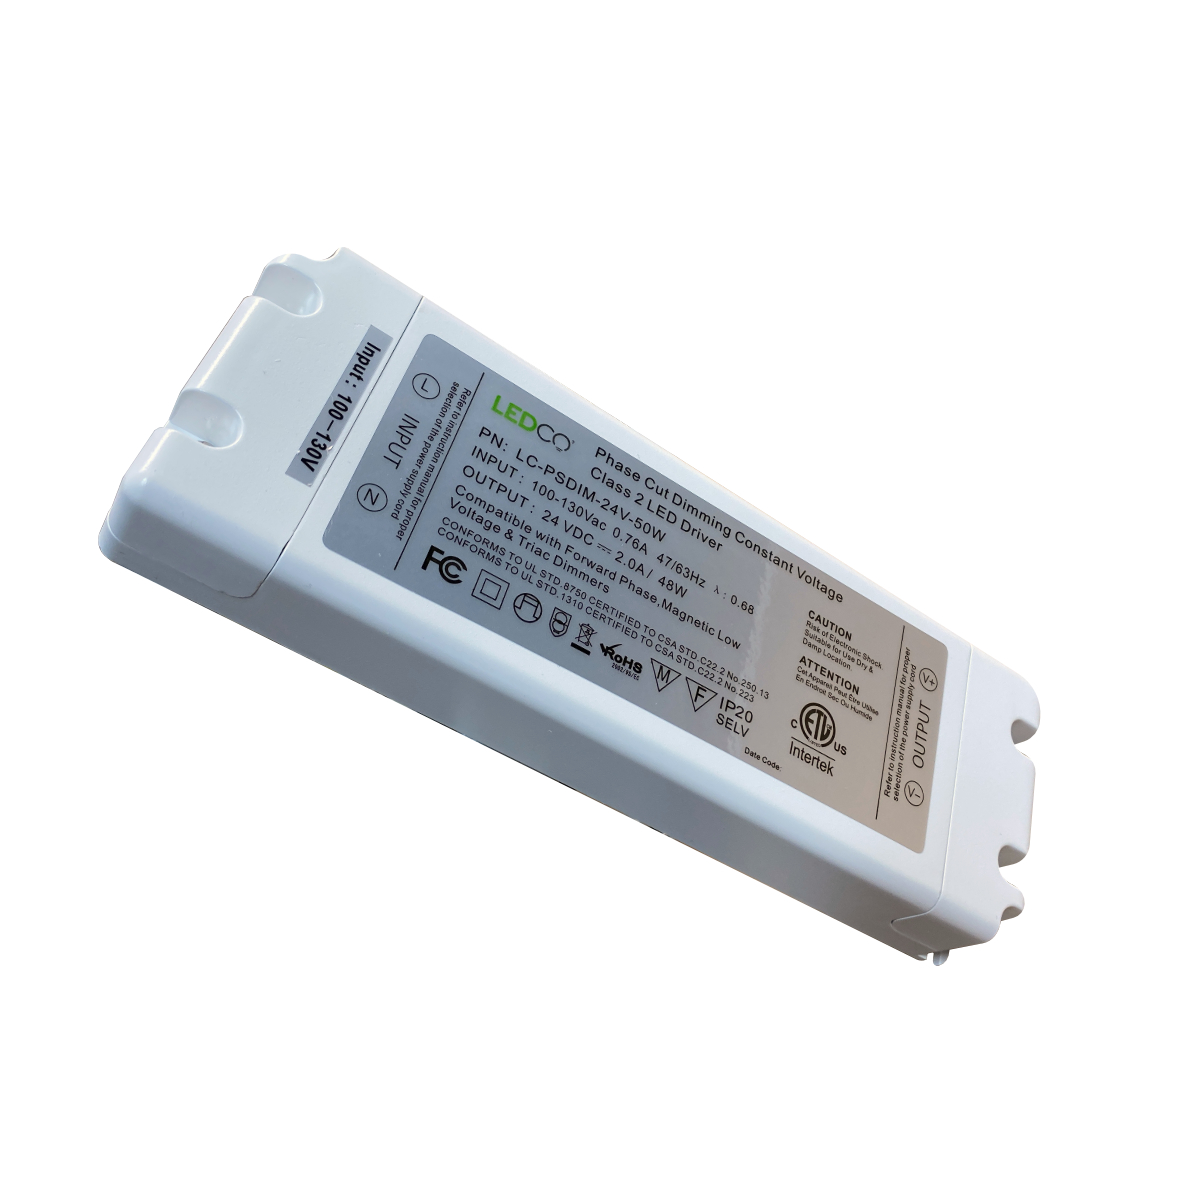
- The power supply: same voltage as the strip, total wattage plus 20%.
- The dimmer or controller: dial, remote or wall controller, depending on the strip.
- Connectors and wire: matched to the strip width, no soldering iron.
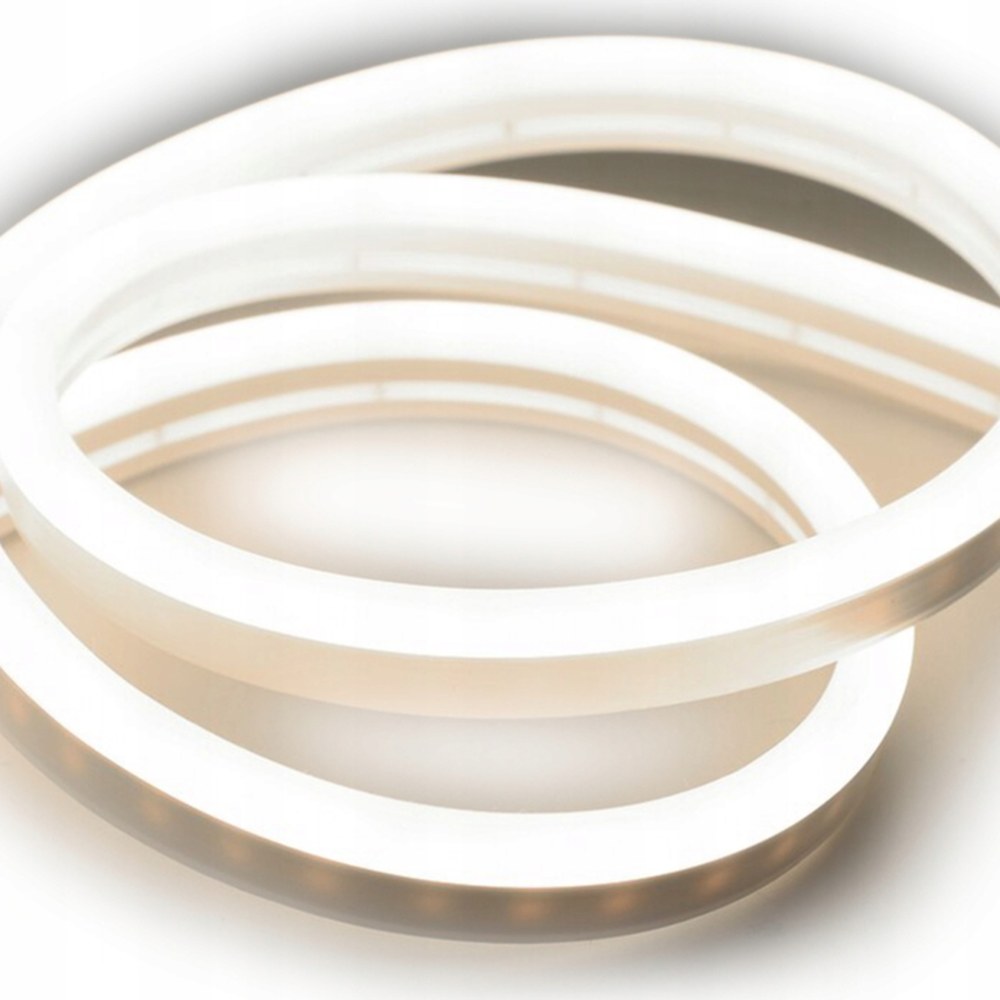
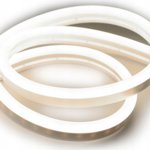
- The flex neon option: when the line must be continuous and dot-free.
Indoor or outdoor LED strip: the starting point
Everything starts with the strip. Indoor LED strips suit cabinets, coves, shelves and stairs, while outdoor LED strips are made for terraces, façades and damp environments. Next, choose the type of light: fixed white, from 4.8 W/m for a subtle accent up to 28.8 W/m for powerful lighting; CCT LED strip to vary the shade of white; dim to warm strip, which warms up as you lower the output; COB strip for a line with no visible dots; or RGB and RGBW strip for colour. The voltage, 12 V or 24 V, and the power in watts per metre determine the rest of the kit. Our page on how to choose the right LED strip compares the families.
Aluminum profile: protection, heat dissipation and finish
The aluminum profile protects the strip, dissipates its heat to extend its lifespan, and its lens eliminates light dots for a uniform line of light. It is chosen according to the mounting: surface under a cabinet or shelf, recessed in drywall or wood for a flush finish, suspended to create a true linear fixture. Simply make sure the inside width of the profile accepts the width of the chosen strip, especially for wider strips such as RGBW.
12 V or 24 V power supply: the right wattage, with a margin
The LED power supply must match the voltage of the strip and deliver enough watts for the full installed length. To calculate, multiply the strip's power in watts per metre by the number of metres, then add a margin of about 20%: the power supply runs without strain and lasts longer. If you want to vary the output with a wall dimmer, choose a dimmable power supply; otherwise, a non-dimmable model does the job. Far from any outlet, there is also a 12V battery kit for strip or puck lights.
Dimmers, remotes and controllers: setting the mood
To adjust the output of a white strip or change the colours of an RGB or RGBW strip, add the right dimmer or controller. The 9-24V LED dimmer switch is the simplest solution for a single zone. The R21 4-zone remote and receiver kit controls up to four zones of white strip, and the R24 kit does the same for RGBW strips. A 12-24V movement detector turns the strip on as you walk into a closet. Important reminder: to dim from a line-voltage wall dimmer, the power supply must be dimmable.
Connectors, wire and accessories: assembly without soldering
Connectors and accessories join sections, turn corners and connect the strip to the power supply, with no soldering iron. The L-shape 2-pin 8mm COB connector neatly turns a cabinet corner; 18-2 or 22-2 wire, sold by the foot, runs to the power supply; 22-4 RGB and 22-5 RGB-W wire serve colour strips. Always choose connectors according to the width and protection rating of the strip. Lever connectors, double-sided adhesive tape and heat-shrink tube round out the toolbox.
Flex neon LED: the continuous-line option
For a continuous line of light with no dots, flex neon LED is an alternative to classic strip: signs, coves, outlines of furniture or ceilings. It runs from the 3x6 mm side-bending to the 16x16 mm RGBW, and the 10x10 mm anti-glare version softens the source when it stays in the line of sight. The power and dimming logic remains the same as for a strip.
Technical tips for a kit without surprises
Set the voltage first. Strip, power supply, dimmer and receiver must all be 12 V or all be 24 V; they are never mixed.
Allow 20% headroom on the power supply. Watts per metre times metres, plus a fifth: the power supply does not heat up and lasts longer.
Wall dimmer means dimmable power supply. A line-voltage dimmer on a non-dimmable power supply causes flicker or burns out the supply.
Measure the strip width first. Before the profile and connectors: an RGBW is wider than a plain white; profile and connectors must accept it.
The profile is not a luxury. It dissipates heat, protects the strip and erases the dots; a bare strip under a shelf ages faster.
Prefer to leave nothing to chance? With our custom Designer, you describe your project zone by zone, with your lengths, and receive a quote for a consistent system, calculated power supply included. You can also write to our team: we will check your complete LED strip light kit, from strip to connectors, before you order.

LED strip light kit FAQ
What does a complete LED strip light kit contain?
The strip, the aluminum profile with its lens, the power supply at the right voltage, a dimmer or a controller, then the connectors and the wire to the power supply. Each part is chosen from the previous one, starting with the strip.
12 V or 24 V: which one should I choose?
The voltage is decided with the strip, and every other part follows. Once chosen, it is not mixed: a 24 V strip on a 12 V power supply does not light properly, and the reverse damages it.
How do I calculate the power supply wattage?
Multiply the strip's watts per metre by the number of metres installed, then add about 20% and take the next model up. That margin keeps a power supply from running at the top of its capacity and heating up.
Can an LED strip be connected without soldering?
Yes, with the connectors made for the width and type of the strip: L-shape COB connector for a corner, straight connectors between two sections, 18-2 or 22-2 wire to the power supply. For a permanent installation, the custom Designer delivers the lengths already soldered.
RGB or RGBW strip?
RGB mixes red, green and blue; RGBW adds a dedicated white chip, for a true everyday white on top of the colour. It calls for 22-5 wire and an RGBW controller, such as the R24 kit.