


Voltage Drop Chart 12V and 24V
VOLTAGE DROP CHART 12V AND 24V
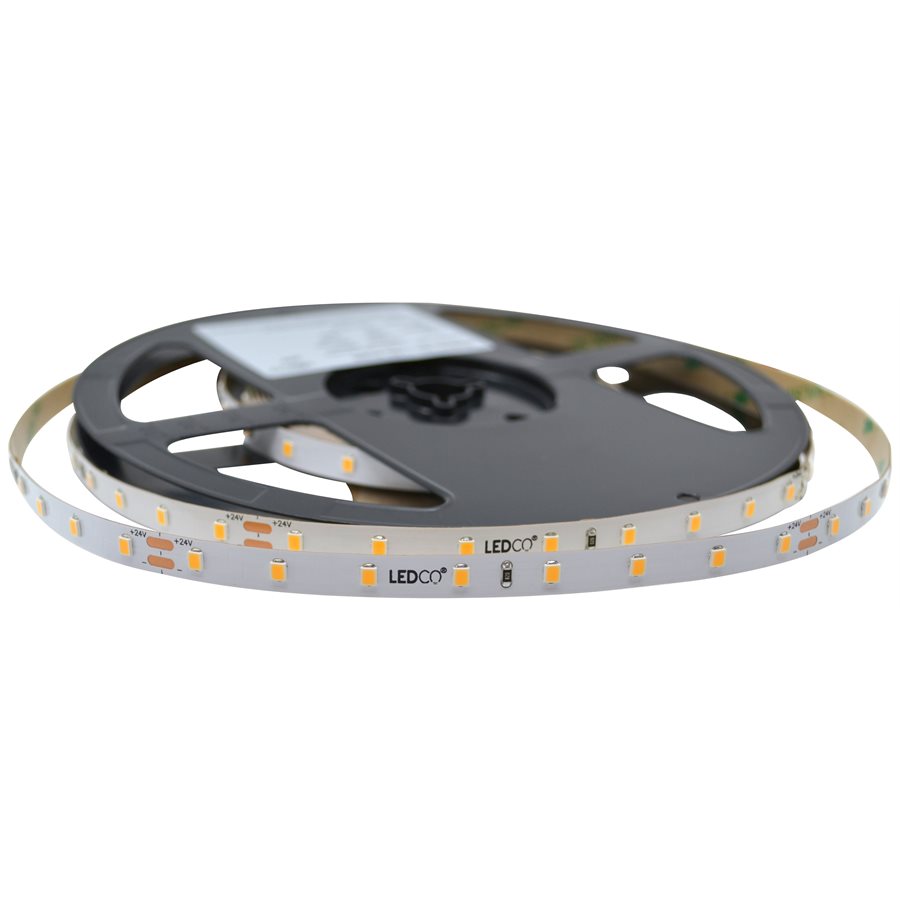
When current runs through a wire, part of the voltage is lost along the way. That loss is called voltage drop. On an LED strip you see it right away: the first feet are at full brightness, the far end is dimmer or shifts yellow.
The rule is simple: voltage drop = wire resistance × current (E = IR). The longer and thinner the wire, the bigger the loss. The charts below give you, for each power draw and each wire gauge, the maximum run in feet before you exceed a 10 % loss.
How to read the charts
- Find the total power you are feeding (the strip's watts per foot × its length).
- Pick that row — when you fall between two rows, always take the one above.
- Read the distance under the wire gauge you plan to use. That is the maximum length of the pair of wires, from the power supply to the strip.
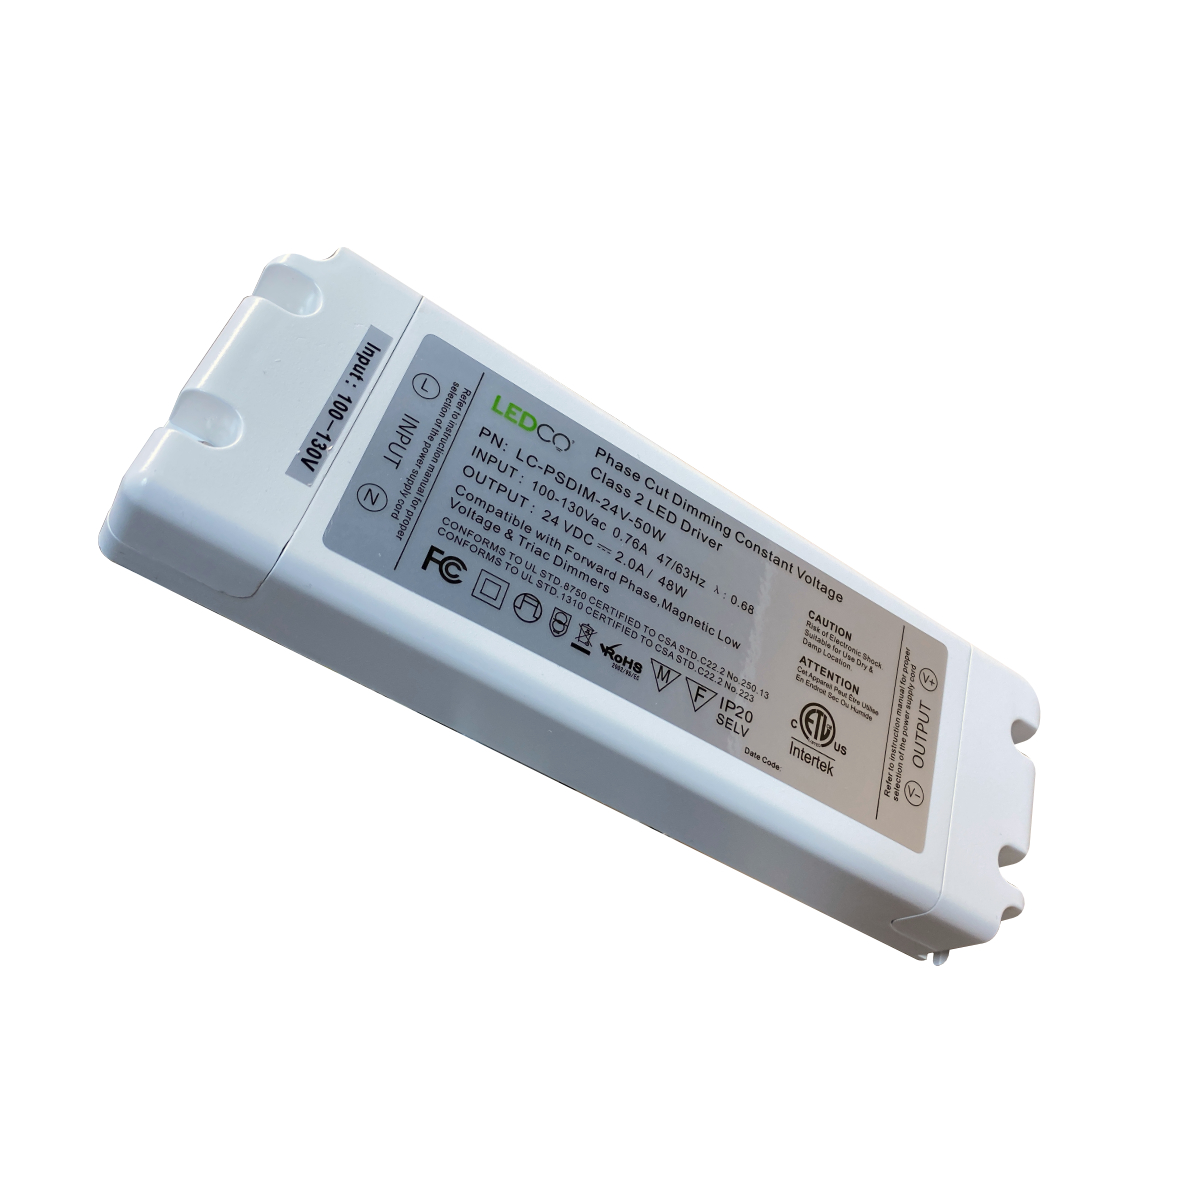
The dark green columns are the gauges we keep in stock. If the distance shown is shorter than what you need, you have three options: a thicker wire, a power supply closer to the strip, or feeding the strip from both ends.
12 volts — maximum run in feet
| Power | Current | 8 AWG | 10 AWG | 12 AWG | 14 AWG | 16 AWG | 18 AWG | 20 AWG | 22 AWG | 24 AWG | 26 AWG |
|---|---|---|---|---|---|---|---|---|---|---|---|
| 3 W | 0,25 A | 3733 | 2396 | 1508 | 947 | 595 | 376 | 234 | 146 | 93 | 59 |
| 4 W | 0,33 A | 2828 | 1815 | 1142 | 717 | 451 | 285 | 177 | 111 | 70 | 44 |
| 5 W | 0,42 A | 2222 | 1426 | 898 | 564 | 354 | 224 | 139 | 87 | 55 | 35 |
| 10 W | 0,83 A | 1124 | 722 | 454 | 285 | 179 | 113 | 71 | 44 | 28 | 18 |
| 20 W | 1,67 A | 559 | 359 | 226 | 142 | 89 | 56 | 35 | 22 | 14 | 9 |
| 30 W | 2,50 A | 373 | 240 | 151 | 95 | 60 | 38 | 23 | 15 | too short | too short |
| 40 W | 3,33 A | 280 | 180 | 113 | 71 | 45 | 28 | 18 | 11 | too short | too short |
| 50 W | 4,17 A | 224 | 144 | 90 | 57 | 36 | 23 | 14 | too short | too short | too short |
| 60 W | 5,00 A | 187 | 120 | 75 | 47 | 30 | 19 | 12 | too short | too short | too short |
| 70 W | 5,83 A | 160 | 103 | 65 | 41 | 26 | 16 | 10 | too short | too short | too short |
| 80 W | 6,67 A | 140 | 90 | 57 | 36 | 22 | 14 | too short | too short | too short | too short |
| 90 W | 7,50 A | 124 | 80 | 50 | 32 | 20 | 13 | too short | too short | too short | too short |
| 100 W | 8,33 A | 112 | 72 | 45 | 28 | 18 | 11 | too short | too short | too short | too short |
| 110 W | 9,17 A | 102 | 65 | 41 | 26 | 16 | 10 | too short | too short | too short | too short |
| 120 W | 10,0 A | 93 | 60 | 38 | 24 | 15 | too short | too short | too short | too short | too short |
24 volts — maximum run in feet
At the same wattage, 24 V draws half the current of 12 V, so you can run roughly twice as far on the same wire. That is the main reason to pick 24 V on a long run.
| Power | Current | 8 AWG | 10 AWG | 12 AWG | 14 AWG | 16 AWG | 18 AWG | 20 AWG | 22 AWG | 24 AWG | 26 AWG |
|---|---|---|---|---|---|---|---|---|---|---|---|
| 3 W | 0,13 A | 14417 | 9253 | 5823 | 3656 | 2299 | 1451 | 905 | 565 | 358 | 226 |
| 4 W | 0,17 A | 11025 | 7076 | 4453 | 2796 | 1758 | 1110 | 692 | 432 | 274 | 173 |
| 5 W | 0,21 A | 8925 | 5728 | 3605 | 2263 | 1423 | 898 | 560 | 350 | 222 | 140 |
| 10 W | 0,42 A | 4463 | 2864 | 1803 | 1131 | 712 | 449 | 280 | 175 | 111 | 70 |
| 20 W | 0,83 A | 2258 | 1449 | 912 | 573 | 360 | 227 | 142 | 89 | 56 | 35 |
| 30 W | 1,25 A | 1499 | 962 | 606 | 380 | 239 | 151 | 94 | 59 | 37 | 24 |
| 40 W | 1,67 A | 1122 | 720 | 453 | 285 | 179 | 113 | 70 | 44 | 28 | 18 |
| 50 W | 2,08 A | 901 | 578 | 364 | 229 | 144 | 91 | 57 | 35 | 22 | 14 |
| 60 W | 2,50 A | 750 | 481 | 303 | 190 | 120 | 75 | 47 | 29 | 19 | 12 |
| 70 W | 2,92 A | 642 | 412 | 259 | 163 | 102 | 65 | 40 | 25 | 16 | 10 |
| 80 W | 3,33 A | 563 | 361 | 227 | 143 | 90 | 57 | 35 | 22 | 14 | 9 |
| 90 W | 3,75 A | 500 | 321 | 202 | 127 | 80 | 50 | 31 | 20 | 12 | 8 |
| 100 W | 4,17 A | 449 | 288 | 182 | 114 | 72 | 45 | 28 | 18 | 11 | 7 |
| 110 W | 4,58 A | 409 | 263 | 165 | 104 | 65 | 41 | 26 | 16 | 10 | 6 |
| 120 W | 5,00 A | 375 | 241 | 151 | 95 | 60 | 38 | 24 | 15 | 9 | 6 |
| 130 W | 5,42 A | 346 | 222 | 140 | 88 | 55 | 35 | 22 | 14 | 9 | 5 |
| 140 W | 5,83 A | 321 | 206 | 130 | 82 | 51 | 32 | 20 | 13 | 8 | 5 |
| 150 W | 6,25 A | 300 | 192 | 121 | 76 | 48 | 30 | 19 | 12 | 7 | 5 |
| 160 W | 6,67 A | 281 | 180 | 114 | 71 | 45 | 28 | 18 | 11 | 7 | 4 |
| 170 W | 7,08 A | 265 | 170 | 107 | 67 | 42 | 27 | 17 | 10 | 7 | 4 |
| 180 W | 7,50 A | 250 | 160 | 101 | 63 | 40 | 25 | 16 | 10 | 6 | 4 |
| 190 W | 7,92 A | 237 | 152 | 96 | 60 | 38 | 24 | 15 | 9 | 6 | 4 |
| 200 W | 8,33 A | 225 | 144 | 91 | 57 | 36 | 23 | 14 | 9 | 6 | 4 |
The chart as a PDF
The same two pages, to print or keep on the job site.
The wire and power supplies we stock
- 22-2 black and red wire — for short runs
- 18-2 outdoor landscaping wire (100 ft)
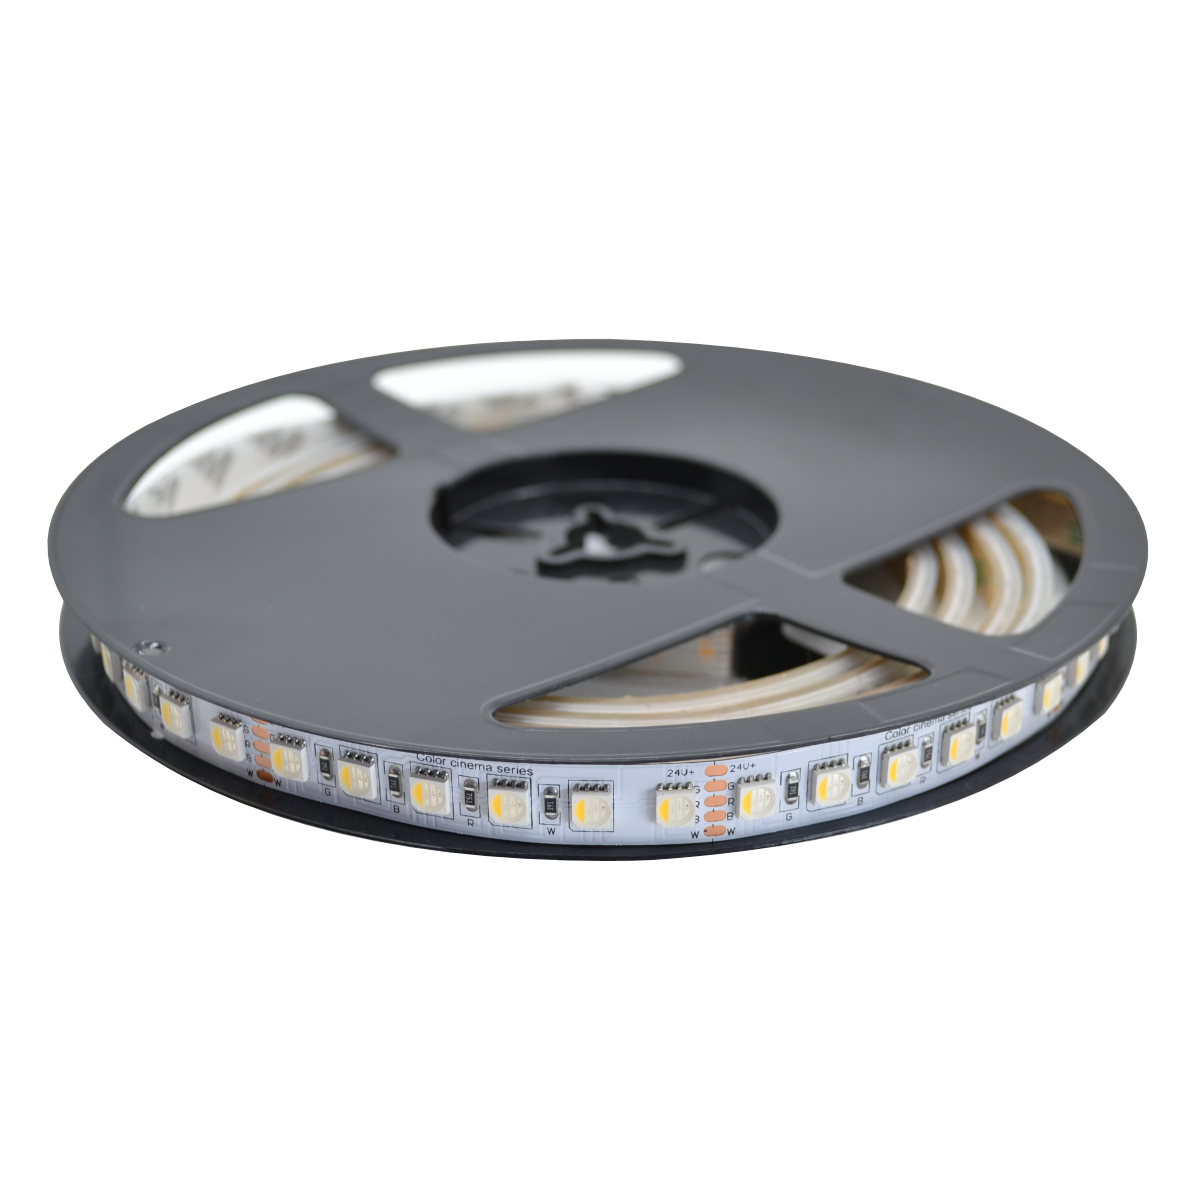
- 22-4 wire for RGB strip · 22-5 wire for RGBW strip
The fine print
- The charts assume a 10 % loss over the pair of wires. A 20 % loss would double the distance, 5 % would cut it in half.
- They assume wire at 70 °F. At 130 °F, expect roughly 3 % more drop.
- Minimum operating voltage is assumed at 10 V for 12 V systems, 21.6 V for 24 V systems.
- If the manufacturer specifies its own wire gauges, follow those instead of this chart.
Not sure about your project? Write to us or call 450 444-4007 — we will size the installation with you.