


Bathroom Renovation: Getting the LED Lighting Right




BATHROOM RENOVATION: GETTING THE LED LIGHTING RIGHT
A bathroom renovation is the best time to redo the lighting: the walls are open, the wiring is accessible and every element can be planned in its place. The most common mistake is thinking about lighting at the end, once the tile is down. The right order: choose the mirror and fixtures during planning, run the wiring before the walls close, then install the fixtures at the finishing stage. Here, step by step, is what LEDCO offers.
Bathroom renovation: the lighting follows the order of the work
Renovating a bathroom is a series of stages, and each one locks in a lighting decision. Once the stage is over, going back costs dearly in drywall and tile:
- At the planning stage: choose the mirror and fixtures, before ordering the vanity.
- Walls and ceiling open: run the wiring, place the housings and install the mounting frames.
- During tiling: plan the wire and the profile for the shower niche.
- When ordering the cabinet: bring the wire for the under-vanity profile to the right spot.
- At the finishing stage: install the fixtures and set one white for the whole room.
Planning: the LED mirror is chosen before the vanity
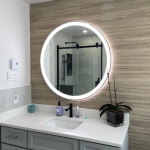
An LED mirror lights the face without the shadows of a ceiling fixture alone. LEDCO LED mirrors are hard-wired to the circuit and turn on from the wall switch; the 3000K and 6000K models dim with a standard wall dimmer (MLV or TRIAC). There are front-lit or backlit mirrors, and medicine cabinets such as the Galaxy cabinet LED mirror or the Harmony cabinet LED mirror, which add storage. Most models have a CRI of 90+, for true-to-life skin tones.
To plan during the work: the electrical box behind the mirror, centred at the right height, and the mirror size, chosen before the vanity so the two line up. Order the mirror early enough to have it on hand before finishing; each model has its own spec sheet, with sizes, power, lumens and weight.
Walls and ceiling open: damp-rated recessed lights and mounting frames
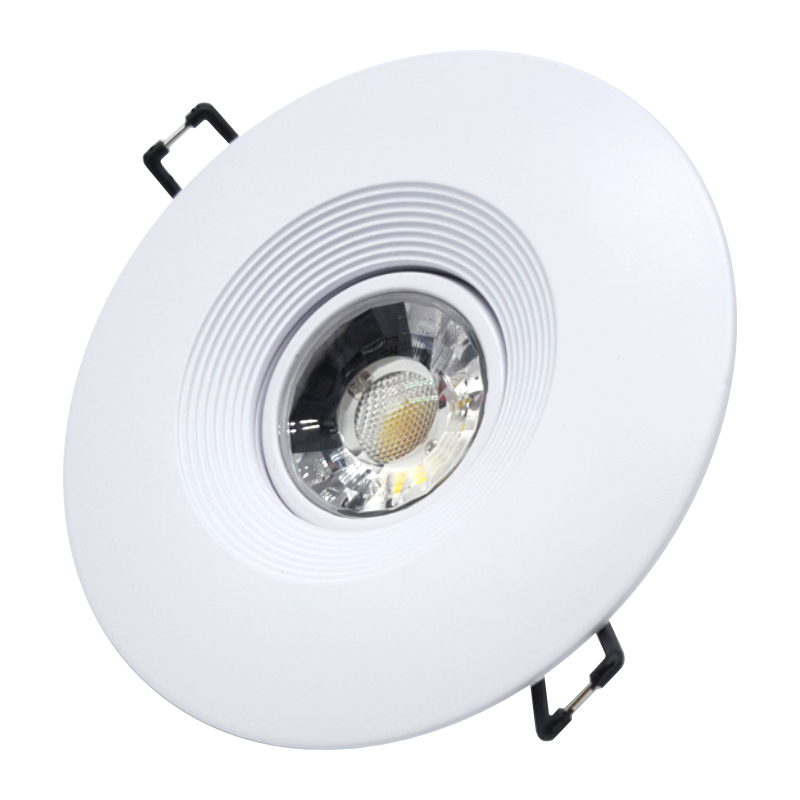
On the ceiling, choose LED recessed ceiling lights rated for damp locations: each model's spec sheet says so. CCT pot lights let you set the colour temperature at installation to match the mirror. For a clean ceiling, the DLT 4" round trimless recessed light sits flush with the drywall; check whether it needs a mounting frame, since that goes in during the ceiling work. Position the housings according to the shower, the vanity and the door before closing the ceiling.
Tiling: the shower niche and its waterproof strip
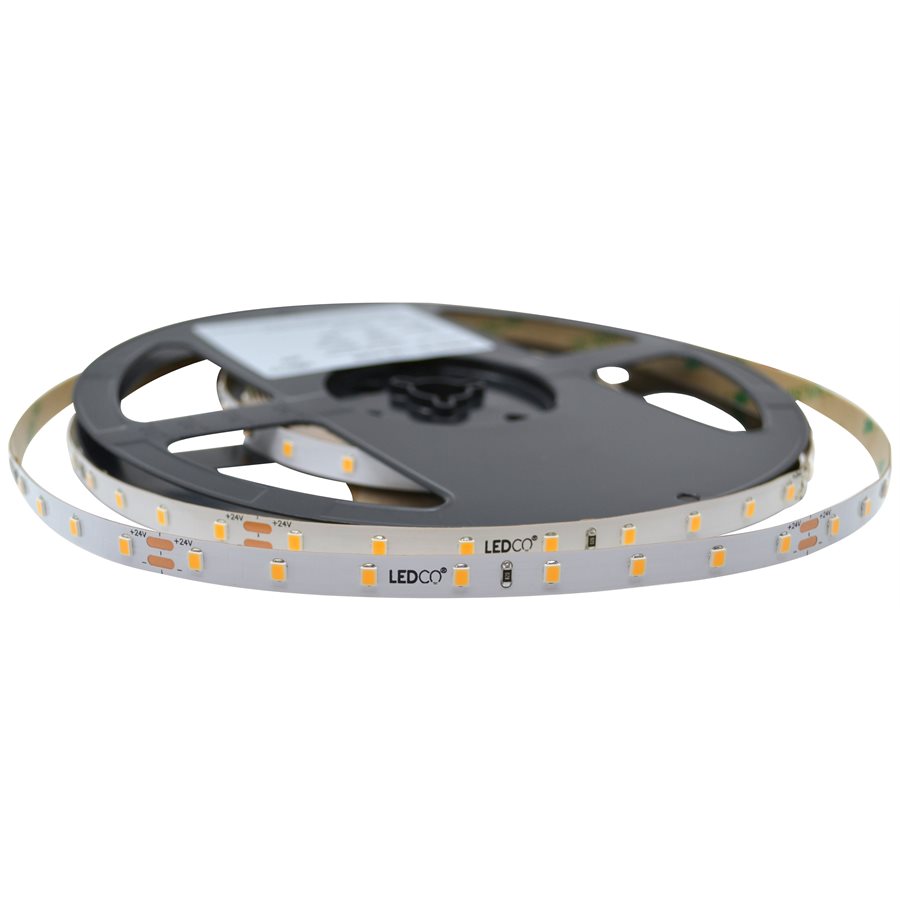
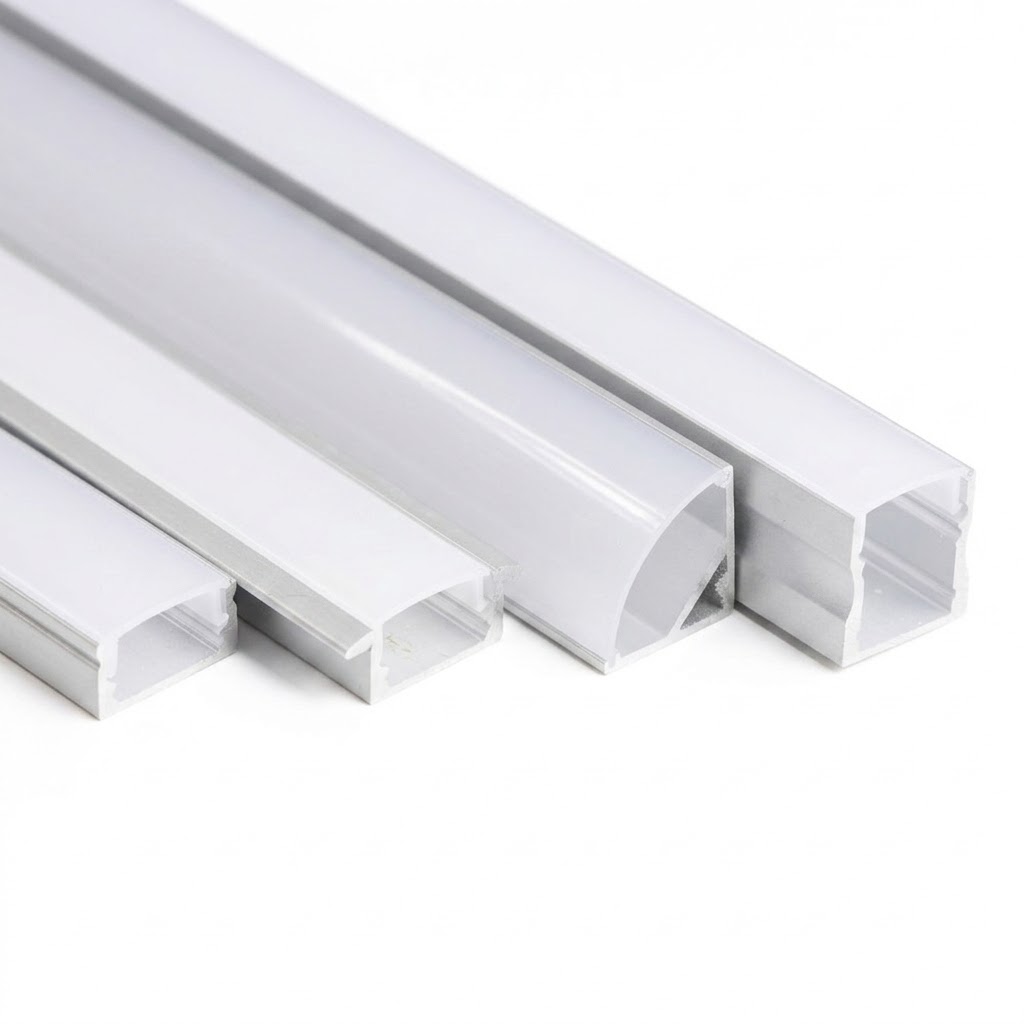
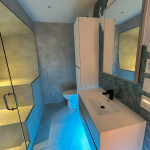
LED shower lighting in the niche is planned during tiling, not after. An IP66 waterproof LED strip, set in a small aluminum profile under the shelf or at the top of the niche, lights the products and adds depth to the wall. The wire must be run and the profile's location planned before the niche is tiled. With our LED Custom Builder, the strip and profile are cut to the inch to fit the niche.
Ordering the cabinet: the wire for the under-vanity profile
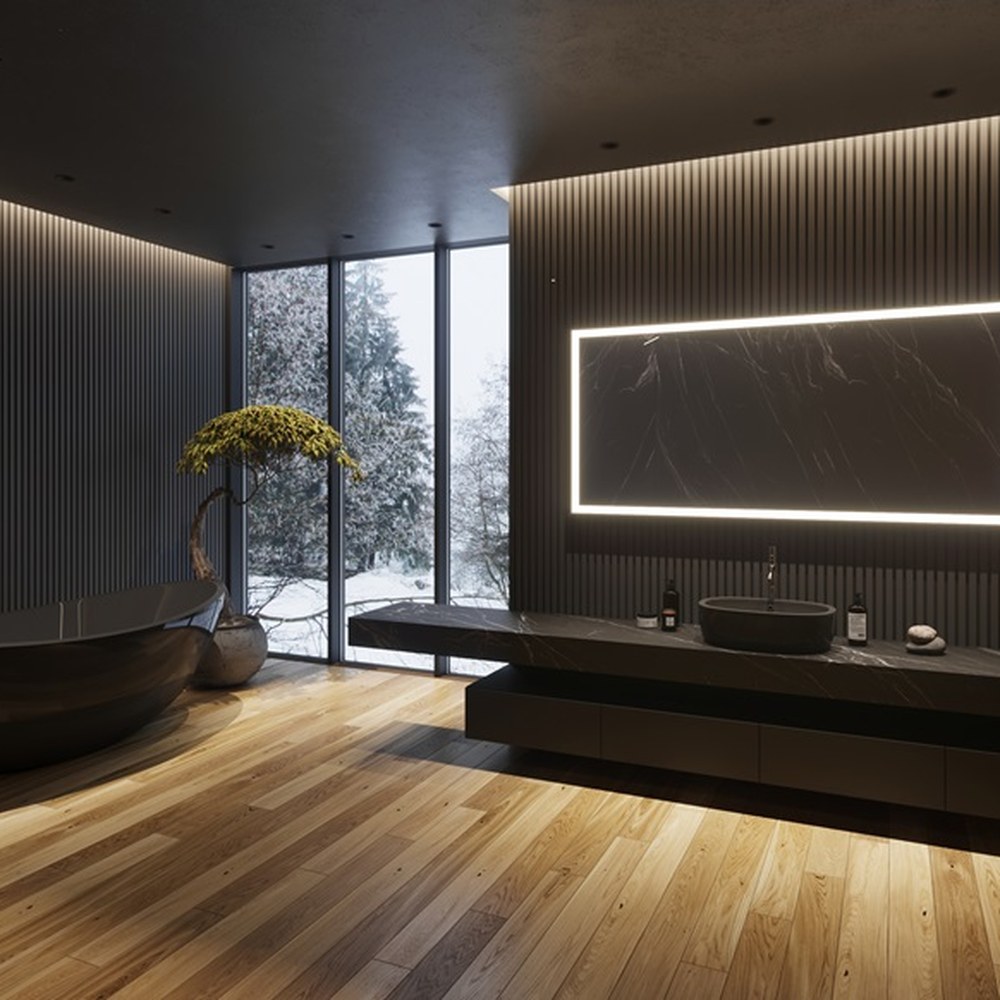
Under a floating vanity, a profile with a diffuser gives an even line of light with no visible dots, bathing the floor in a soft glow. That is enough to find your way to the bathroom at night without turning on the ceiling light. This touch is planned when ordering the cabinet, since the wire has to reach the right spot.
In the same plan: the towel warmer
While the walls are open during a bathroom remodel, think about a towel warmer too. Our range of bathroom towel warmers includes several models, among them the Artemis, the Atlas and the Clip, available in black, to fit the free space near the shower or tub. Choose it along with everything else, so its location and connection are planned before the walls close.
Technical tips for bathroom renovation lighting
One white for the whole room. Choose 3000K for a warm ambiance or 6000K for crisp daylight-type light, and keep it everywhere in the renovated bathroom.
Adjustable mirror and CCT pot lights together. If the room is used as much in the morning as in the evening, set an adjustable-colour mirror and CCT pot lights to the same white.
No pot lights in saunas or steam rooms. It is a safety rule, whatever the model.
Have the shower pot light validated. Directly above or inside the shower, confirm the model with an advisor before closing the ceiling.
Mirror ordered before finishing. Having it on hand avoids holding up the end of the project for a single item.
Our accomplishments include a bathroom with under-vanity lighting and another with a Galaxy LED mirror. Send us the dimensions of your bathroom and vanity, or visit our showroom in Saint-Hubert: contact LEDCO.

Bathroom Renovation and LED Lighting FAQ
At what stage of the work should the lighting be chosen?
At the planning stage, before ordering the vanity. The mirror size, the position of the pot lights and the niche lighting dictate where the electrical boxes and wires go, and those must be in place before the walls close. The fixtures themselves are installed at the finishing stage.
Can an LED mirror be dimmed with a wall dimmer?
Yes for the 3000K and 6000K models: they are hard-wired to the circuit, turn on from the wall switch and dim with a standard MLV or TRIAC wall dimmer. Check the spec sheet of the model you choose before buying the dimmer.
Does a trimless pot light need a mounting frame?
It depends on the model: the spec sheet of the DLT trimless recessed light says so. If a frame is required, it goes in during the ceiling work, before the drywall is finished. That is one more reason to choose your pot lights early.
What should be planned behind the mirror during a bathroom renovation?
An electrical box centred at the right height, since the LED mirror is hard-wired to the circuit. So choose the mirror before closing the wall, and line up its size with the vanity's.